
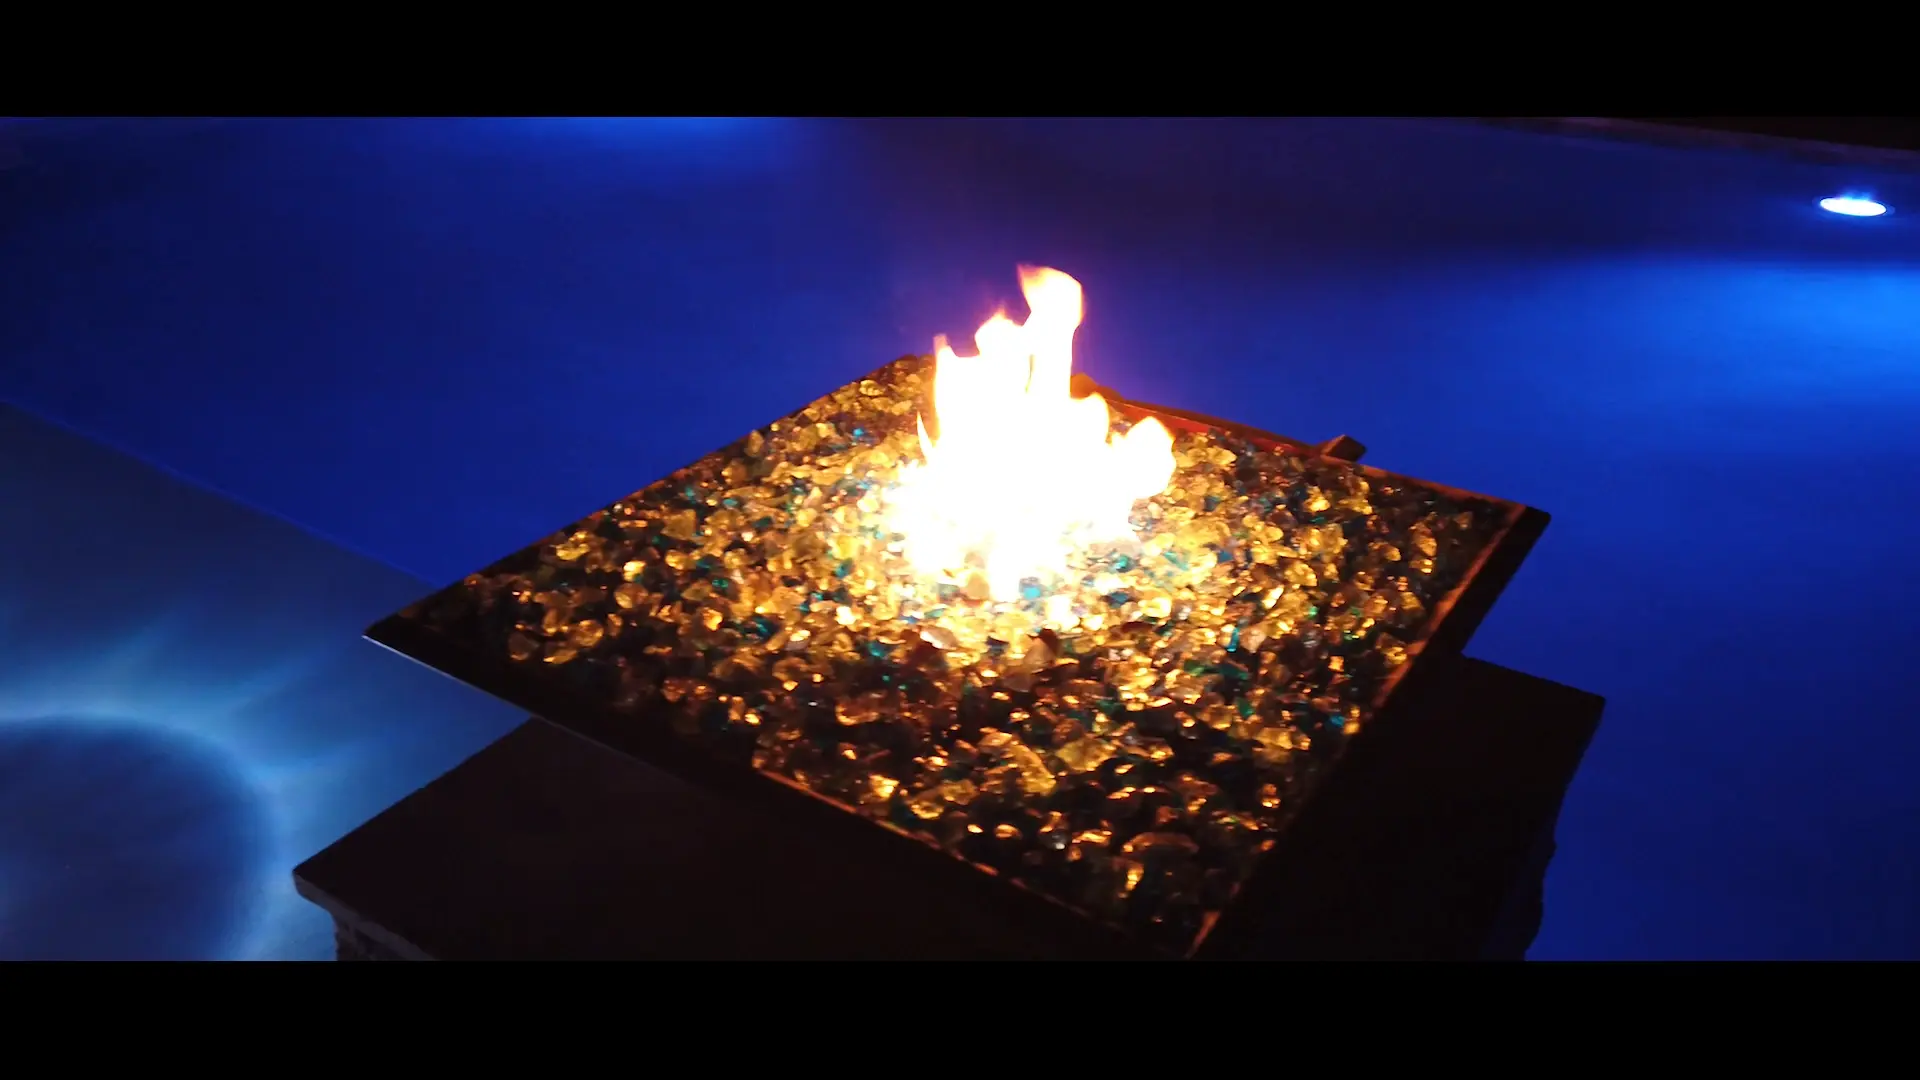
Pool Construction Process
How a Pool Is Built in Tampa Bay
Every phase, in the order it actually happens, and what you should expect at each one.
From the first site walk through engineering, permitting, excavation, the shell, the finishes, startup, and final handoff. This is the page for the homeowner asking what happens after the decision to build.
The short version
- •A pool is built in a fixed order: planning, design and engineering, permitting, layout, excavation, steel, plumbing, electrical, shell, tile and coping, decking, equipment, interior finish, startup, then handoff.
- •Construction does not begin until the engineered design set is complete and the permit is approved.
- •Required inspections happen at the phases the code calls for, and each phase is reviewed against the plans before the next trade starts.
- •Timelines depend on permitting, site conditions, weather and selections, so a schedule is set for your specific project rather than quoted generically.
- •Construction is billed under our open-book cost-plus model: actual vendor and subcontractor costs, plus a stated management line.
BEFORE CONSTRUCTION BEGINS
A pool build is decided long before a machine arrives. Three things have to be settled first: what the site allows, what the drawings say, and what the jurisdiction approves.
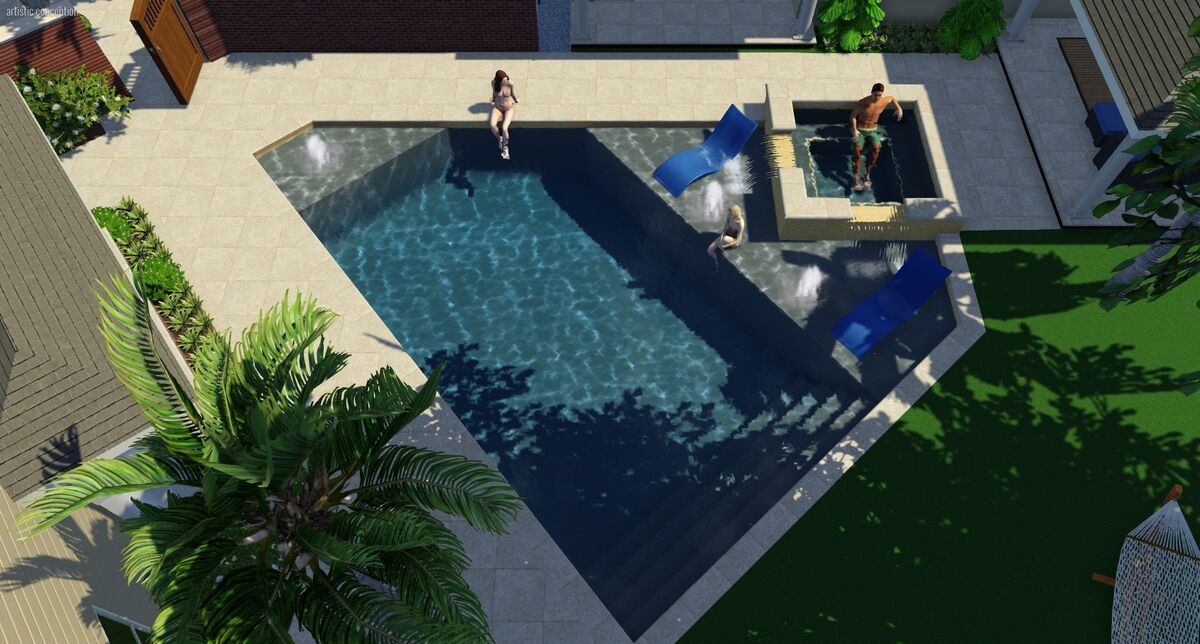
The Design Set Comes First
Shape, depths, elevations, decking, and features are resolved on paper, then engineered. Visualizing the finished project is the job of 3D design; producing the construction and permit documentation is the job of design and permits.

The Site Decides a Lot
Access, setbacks, trees, grade, drainage, groundwater, and panel capacity shape what can be built and how. Identifying those conditions during planning is what keeps them from becoming mid-construction surprises.
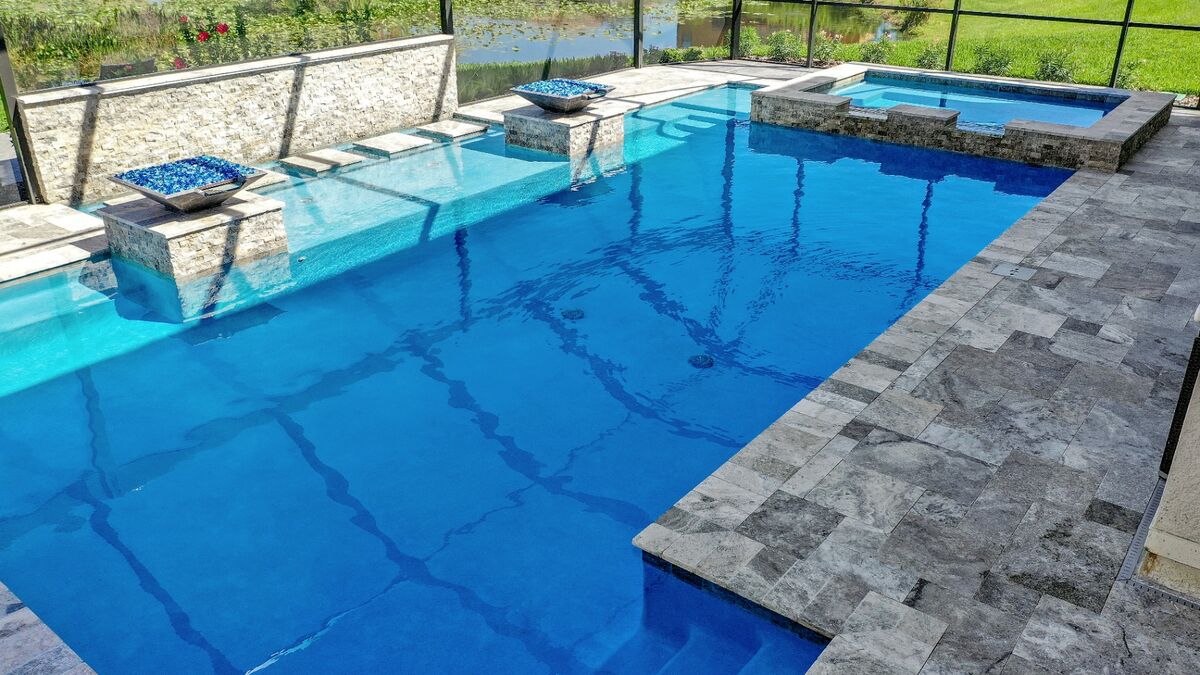
Permits Precede Excavation
Permit packages go to the jurisdiction governing your property, plus HOA review where the community requires it. Excavation waits for approval, every time.
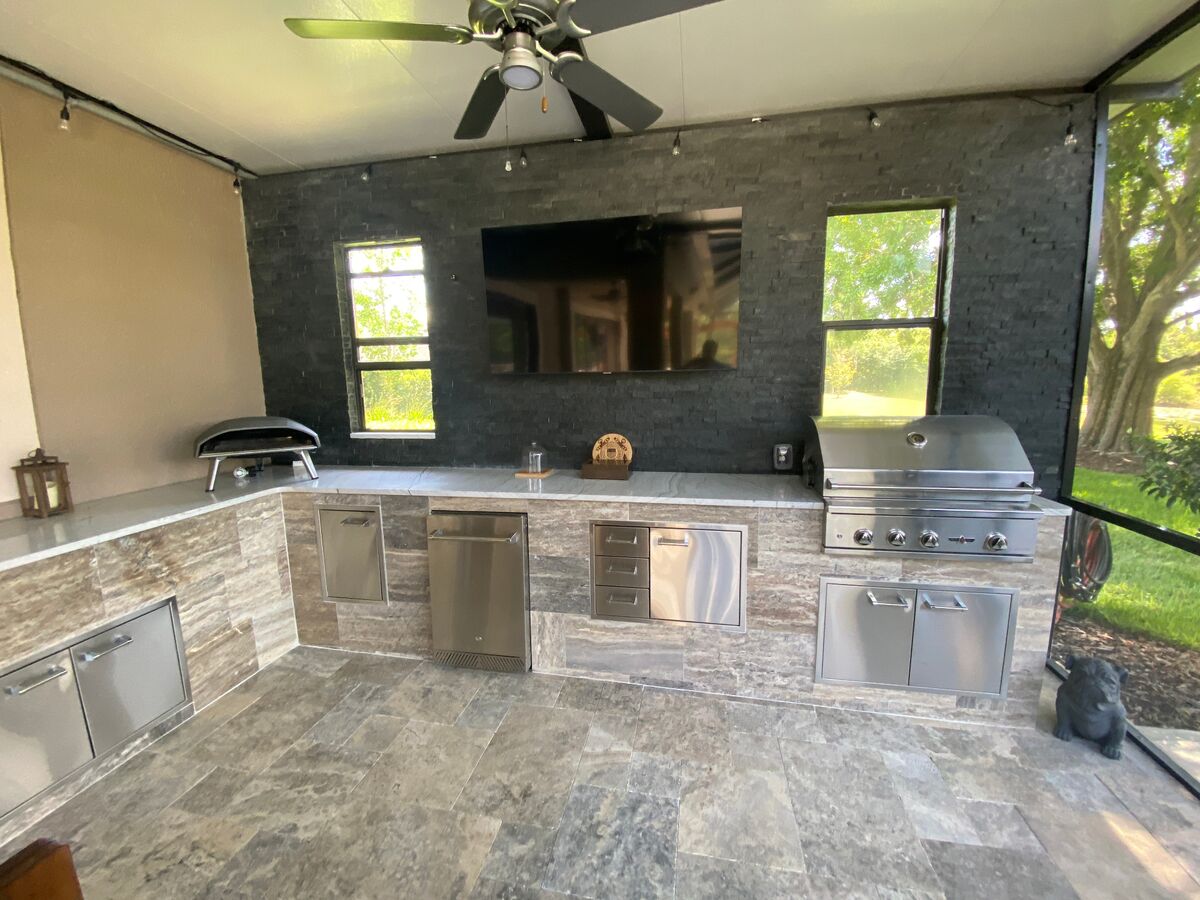
Outdoor Living Is Sequenced In
Decking, kitchens, fire features, and lighting are planned alongside the pool so gas, electrical, and drainage are roughed in once rather than retrofitted later.
How your concept becomes engineered, permit-ready documentation is covered in detail on our design, engineering, and permitting page.
THE CONSTRUCTION SEQUENCE
Concrete pools are built in a fixed order because each phase depends on the one before it. Durations vary by site, weather, jurisdiction, and selections, so we set schedule expectations for your specific project rather than publishing a generic calendar.
- 1
Planning and Preconstruction
Before anything is drawn, we walk the property: where the pool can physically go, how equipment will be routed, where excavation machinery can enter, and how the pool relates to the house and the rest of the yard. Budget expectations and priorities are set here, because this is the cheapest point in the project to change your mind.
- 2
Design and Engineering
Your layout becomes a real drawing set. Pool shape, depths, elevations, decking, and features are resolved, then a licensed Florida engineer produces structural plans with steel layouts, plumbing schematics, and equipment specifications.
- 3
Permitting
Complete permit packages are submitted to the jurisdiction that governs your property, along with HOA review packages where the community requires them. Nothing is dug until the permit is in hand.
- 4
Layout
The approved plan is transferred to the ground. The pool is staked and painted at true scale so you can stand in your yard and see the footprint, the deck line, and the clearances before any soil moves.
- 5
Excavation
The dig follows the staked layout and the engineered depths. Access, spoil removal, tree roots, and groundwater are handled here. Sites with a high water table are dewatered so the excavation holds its shape.
- 6
Steel
Reinforcing steel is tied to the engineer's schedule: bar size, spacing, and lap lengths. This is the structural skeleton of the shell, and it is inspected before any concrete is placed.
- 7
Plumbing
Suction, return, and feature lines are run and pressure-tested. Skimmers, main drains, spa lines, water features, and future equipment runs are set now, because they are inside the shell afterward.
- 8
Electrical
Bonding, equipment circuits, lighting runs, and automation conduit are installed by licensed electricians and inspected. Panel capacity is confirmed early so it never becomes a late surprise.
- 9
Shell and Shotcrete
The structural shell is placed over the steel and plumbing, then shaped to the design: benches, sun shelves, steps, spa dam walls, and floor transitions. The shell is then cured before finish work begins.
- 10
Tile and Coping
Waterline tile, spa tile, and coping are installed. These are the selections you see and touch every day, so samples are confirmed on site rather than chosen from a catalog alone.
- 11
Decking
Pavers, travertine, or concrete decking is installed with the grading and drainage the site needs. Deck elevations, slope, and drain locations matter as much as the material in a Florida rain event.
- 12
Equipment
Pumps, filtration, heating, sanitization, lighting, and automation are set, plumbed, wired, and commissioned. Equipment pad layout is arranged for real service access, not just for the shortest pipe run.
- 13
Interior Preparation and Finish
The shell is prepared and the interior finish, plaster, quartz, or pebble, is applied. Surface color changes how the water reads, so the finish is confirmed against your tile and coping before application.
- 14
Startup
The pool is filled and the startup process begins: circulation, chemistry balancing, and brushing on a schedule appropriate to the interior finish. You are walked through equipment operation and routine care.
- 15
Inspections and Quality Checkpoints
Required inspections happen at the phases the code calls for, and we review each phase against the plans before releasing the next trade to the site. Problems are cheapest to fix in the phase that created them.
- 16
Substantial Completion and Handoff
A punch-list walkthrough documents anything remaining. Items are corrected, documentation and warranty information are handed over, and the project closes out.
WHAT THE HOMEOWNER EXPERIENCE LOOKS LIKE
You always know which phase you are in
Each phase has a defined start, a defined finish, and a review before the next trade is released to the site. You are not guessing what happens next or who is coming.
Selections are made before they block work
Tile, coping, decking, interior finish, and equipment decisions are scheduled ahead of the phase that needs them, so the site does not sit idle waiting on a choice.
Site conditions are addressed as engineering, not as blame
Groundwater, roots, rock, grade, and panel capacity are conditions to design around. When one appears, the response is a documented solution and a documented cost.
Work is verified before it is paid for
Progress is confirmed at each phase before the next payment is due. You are never paying ahead of completed, inspected work.
Closeout is a document, not a handshake
Substantial completion is defined by a punch-list walkthrough, corrections, and handover of documentation and warranty information.
HOW CONSTRUCTION IS PRICED AND BILLED
This page is about how a pool gets built. Pricing is a separate subject, and it deserves its own explanation. We build under an open-book cost-plus model: you see actual vendor and subcontractor costs, plus a transparent management structure reviewed during your consultation. Payments follow verified progress rather than large upfront deposits.
If pricing is the question you actually came here with, start with the model, then the numbers.
TALK THROUGH YOUR BUILD
No deposit. No obligation. Just clarity on the process.
No deposit. No obligation.
CONSTRUCTION PROCESS QUESTIONS
A POOL BUILD SHOULD NEVER BE A BLACK BOX
You should know which phase your project is in, what happens next, who is doing it, and what it costs. That is not a premium service. It is what construction management is supposed to be.